Note: Wondering how to build a web push message? Make sure you've selected a Web App from the drop-down menu at the top of the dashboard.
Building a web push message is similar to building other types of messages in Localytics. As you’re building your message campaign, you should have already chosen your goal and your audience.
In this topic:
- Parts of a web push
- Previewing your message
- Building your web push message
- Notification icon
- Adding rich media content
- Deep linking
- Key/value pairs
- A/B test setup
- Next steps
Parts of a web push
While there is variance between browsers and operating systems, a few parts of your web push notification are consistent across different browsers. For more information, see Which Localytics Web Push API options are supported by which browsers on which platforms?
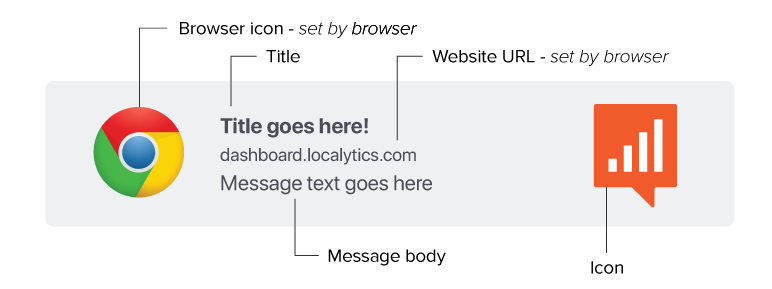
We'll go over these parts later, but here's a quick definition of each:

Note: Some parts of the web push are set by the browser/OS and cannot be changed.
Previewing your message
On the right side of your builder, you'll see the message preview. This will give you an idea of what your message will look like—but keep in mind it will vary from browser to browser.
You'll also have the option to preview the message for a specific user. This is helpful to confirm that your Liquid language (also known as personalization) is formatted properly.
At the Test and Confirm stage, you'll have an option to test your web push message in the browser you're using. Just make sure the browser and OS are both supported, and confirm that Localytics has the permissions to send you web push messages. For more information, see Test mode.
Building your web push message
As with push messages, many parts of the builder are optional—so feel free to pick and choose which elements are important to your campaign.
-
(Optional) In the top field, enter a descriptive name for your message. This name will let you access the push in the future, and it will help you differentiate across your A/B tests, if you choose to make them.

-
(Optional) In the Title field, add the title header of the message. The title will appear above the web push, usually in bold.

Chrome 76, Mac OS Mojave (dark mode)
The title is supported across all browsers and platforms (though it will look different depending on the specifications). It isn't required, but is a great way to grab a user's attention.
-
After the title is the actual content you're messaging about! This is only part of a web push notification that is required in order to send the message. Again, depending on the browser and platform the user is using, it will appear differently.

Chrome 76, Mac OS Mojave (dark mode)
Message and title character limits
You might be wondering about how long your message can be. This will vary by browsers, but it's best practice to fit all browsers and operating systems using a 40 character title limit and 80 character body.
|
Chrome (Android) |
Chrome (Desktop) |
Firefox |
Mac OS (All Supported Browsers) |
|
|---|---|---|---|---|
| Title character limit | 30 | 50 | 40 | 40 |
| Body text limit | None | 150 | 140 - 190 |
80 |
Notification icon
For most messages, you'll want to set the icon for the web push message at the app-level. (You'll find this option on the Settings - Manage Applications page. Locate the app and then select Edit.)
For some messages though, it might be helpful to set a specific icon for a single message. This could be good for breaking news or to target systems that don't support rich messaging.
-
To add an icon, select the Add Notification Icon slider to toggle it On.

-
Paste the URL of your custom web icon in the field.
Adding rich media content
Some browsers and operating systems can display an image with your web push message. (For details, see Which Localytics Web Push API options are supported by which browsers on which platforms?) For browsers and operating systems that support rich media, you can either embed standard rich media content or personalize rich media content dynamically with Movable Ink.
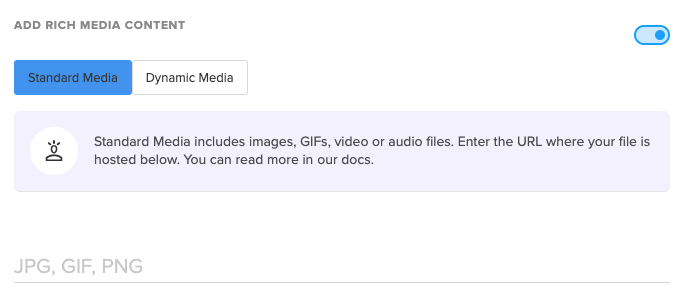
- To add rich media, select the Add Rich Media Content slider to toggle it On.
- Select Standard media or Dynamic media.
Standard media
-
Paste the URL and specify the file type.

Image recommendations are 360x180 or a 2:1 aspect ratio; PNG and JPG are supported.
Note: For browsers or operating systems that don't support images (like Mac OS), Localytics will simply send the message without the image.
Dynamic media
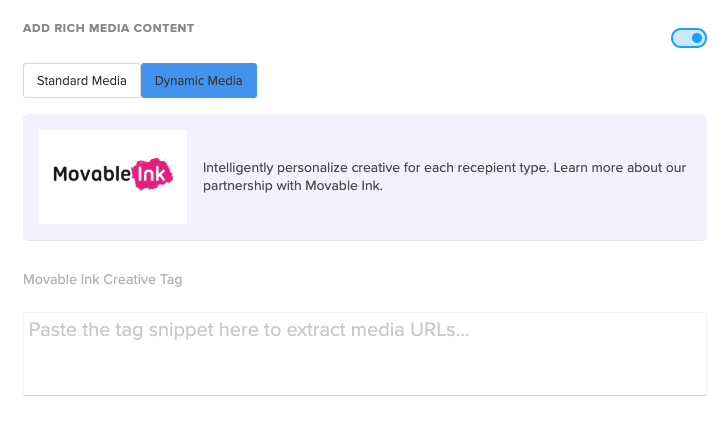
We've partnered with Movable Ink to help you deliver dynamic visual experiences directly within your push message. For more details on how to personalize images, visit Movable Ink (https://movableink.com).
Dynamic Media supports the Movable Ink Creative Tag. To find the Creative Tag:
- Log in to your Movable Ink account.
- Select the appropriate campaign from your Campaigns List.
- Navigate to the Code tab.
- From the sub-navigation, select In-App Messaging.
- Copy the Creative Tag.
-
In the Message Builder, select the Add Rich Media Content slider to toggle it On, and then select Dynamic Media. Paste the tag in the Moveable Ink field.

Deep linking
Make your notifications even more valuable by dropping the user on the exact page they need to be to take action. A deep link will trigger when the user clicks the push message—so make sure to bring them to the right place on your website.
To add a deep link:
-
Select the Deep Linking slider to toggle it On.
-
Paste your URL link in the field.
You can use Liquid to serve a different URL structure, depending on the profile attributes of the user. For more information, see Using Liquid.
Key/value pairs
Key/value pairs are a robust feature.
- Select the Key/Value Pairs slider to toggle it On.
-
Enter one or more key = value combinations.
To access the full list of content, select the personalization icon at the end of the field.
A/B test setup
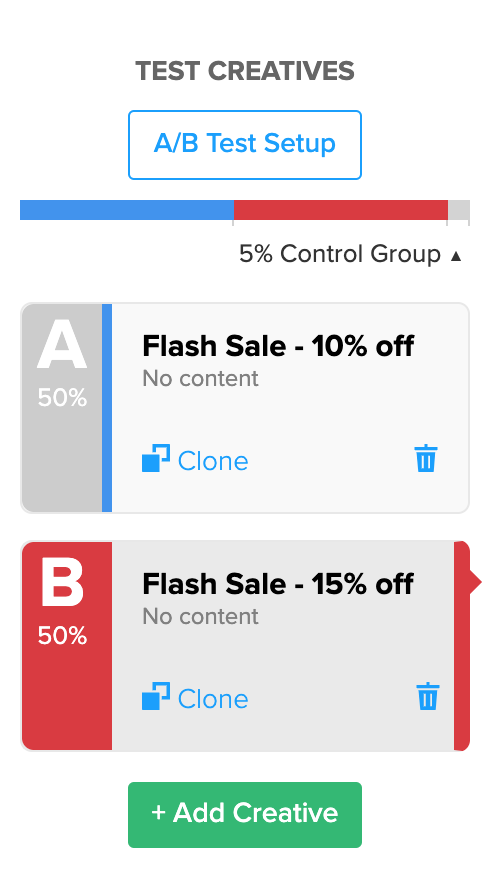
You also have the option to set up A/B Testing for your web push message. An A/B test allows you to send multiple creatives to your users and specify how you want the creatives distributed.

To add another creative:
- Select the + Add Creative button.
- Add up to 10 creatives to an A/B test.
For more information, see A/B testing basics.
Next steps
Now that you’ve built your web push message, you’ll head to the next step by selecting Continue to Scheduling.
Scheduling a web push is exactly the same as scheduling an app push message—for more information, see Scheduling a push message.